Tuesday, April 28, 2015

Texture and Shading Part 2 - First Three Weeks

This semester at Gnomon I am also taking Texture and Shading part 2. I am lucky enough to have the same teacher that I had last semester, who is an excellent artist and motivator.

The first few weeks really were a lot of repetition for me, but that's great. I understand the concept and process a lot better this time around.

So for our homework we had to make 5 (or more) textures using Photoshop only.

Ideally you start with a very bare texture and build up from there. Then a spec and bump map had to be made, also using Photoshop only.

I will show the Color, Spec and Bump map that I made for one of my textures, to show the full process; then the final renders for the rest of them only.

The first one I made was a weathered wood that I like to call "falling cow".

Color Map


Spec Map


Bump Map


Maya Final Renders:

Weathered Wood


Metal Shipping Container


Brick Wall


Painted Paper


Concrete No Smoking


Environment sculpting and modeling - Week 2

Homework for our second week was a bit similar than the first week.

Again we had to kit-bash together a concept and then make it into a model. The difference this week was that the model had to be made in Zbrush.

As a complete Zbrush novice (never even had the chance to open the program before class) this was a challenge. A fun one.

I jumped on digital tutors and followed along with one of their tutorials called: first day in Zbrush.

I ended up making something that doesn't look great, but taught me a lot. Yes, it's laughable, but I am strangely proud of it. My first zbrush sculpt.

Skin Creature


Now on to the homework assignment. It had to be some sort of pillar, preferably stone.

Kit-bash


Zbrush sculpt 


Environment sculpting and modeling - Week 1

For this spring semester at Gnomon I ended up taking Environment sculpting and modeling.

So far the classes have been fun and relatively easy to follow.

For the first week we had to kit-bash (take pieces from several lamps and photoshop them together) to make a design for a lamp; then model it in Maya.

I choose a bit of an industrial looking lamp, that someone could place in a bar setting.


Kit-Bash:


Maya render:


Friday, March 13, 2015

Hard Surface Modeling class 1 complete.

For starters, this semester flew by so quickly.

Ten weeks. Like it was nothing.

I encountered a few challenges while taking this class.

  • What to pick for the final project.

I went from wanting to do a motorcycle (too difficult), to a gramophone (too easy), to a diving helmet (don't even want to talk about it ;)). Eventually I ended up modeling a gun. Something I really didn't want to do because I thought it was so un-original.
In the end, the gun I ended up modeling was actually a really nice challenge, and I am proud of the outcome.

I think the reason why I had such a hard time picking a project is purely inexperience, it led me to either over or under estimate how much time a particular model would take me to make.

Eventually I realized that it will always take longer than I initially think. If I think it will take an hour, it will probably take three. Of course as time goes on, skills improve and the process goes faster.
What took me an hour ten weeks ago, I can do in fifteen minutes now.

  • Where to start.

Too many days were spent not getting much of anything done, because I had what I called: 'modeler's block'. I compare it to writer's block. Staring at the screen, but not knowing where to start or what to do exactly. I knew the techniques, just had to put them to use now.

Eventually I moved passed it. I've learned to break the model down into simple shapes. Start with a cube, cylinder, sphere, etc, then go from there. Draw it out if I get stuck. Watch a tutorial or two on a similar subject, then apply those techniques to my own model. It worked, and I actually started to enjoy the process.

I'm going to take a break from modeling classes for now, but perhaps will do a creature or character design class in the future. On the schedule for this coming semester are texturing and shading 2 and a class on environment design for video games. The last one is the reason I joined Gnomon school of visual effects. So I am excited to start the next semester.

Onward and Upwards!


Note: The model actually isn't as condense as it shows on the wireframe render, just haven't quite figured out how to change the settings. :/


Wednesday, February 18, 2015

Here we are again...

Last week's textures didn't turn out all that great. The way they were set up (using the blend if option) was creating a few problems when trying to extract a specular and bump map.

I also came to the quick realization that working with organic materials like grass and sand is not the easiest thing in the world.

Long story short. Textures had to be redone. I am still having a few issues setting up the render correctly, using sRGB and color correct. At times it's confusing to know when to use what.
Will just have to practice more. :)

Anyway. Here's what the textures look like now.


~Coca Cola; damaged metal~


~Mario wall; painted brick wall with decall~


~Sanded wood~


~Graffiti Wall; cracked concrete with dirt and decall~

I do feel like the textures have improved since last week. However the details of when to use what type of color correction or how to properly make the bump, spec or gloss maps work, it's still a bit of a puzzle that I'm eager to figure out. I'll get there. Onwards and Upwards!

Now it's on to modeling. Till next time...


Wednesday, February 4, 2015

Layered textures using Photoshop only.

This week's assignment for texture and shading class was to create 5 textures using only Photoshop. 
This basically means you start with a very basic texture, bare bones, then building and blending with additional textures until something worth while gets created. 
Inspiration didn't come too easy this week, but a few of the files came out fairly decent.


 ~Worn metal; think vintage Coca Cola cooler~


~Moss covered tile roof~


~Sand covered wood floor; with foot prints~


~Graffiti wall; with paint splatters (itsa Mario!)~


~Last and actually my least favorite; concrete graffiti wall with dirt?~


Wednesday, January 28, 2015

So many spheres...

Three weeks of spheres from my texture and shading 1 class. 


Week 1:


~Marble~
~Carbon Fiber~
~8 Ball~
~Fuzz~
~Leather~
~Rock~

Week 2:


~Baseball~

~Plastic~

~Rock Tile~

~Chrome and Copper~

~Diamond~
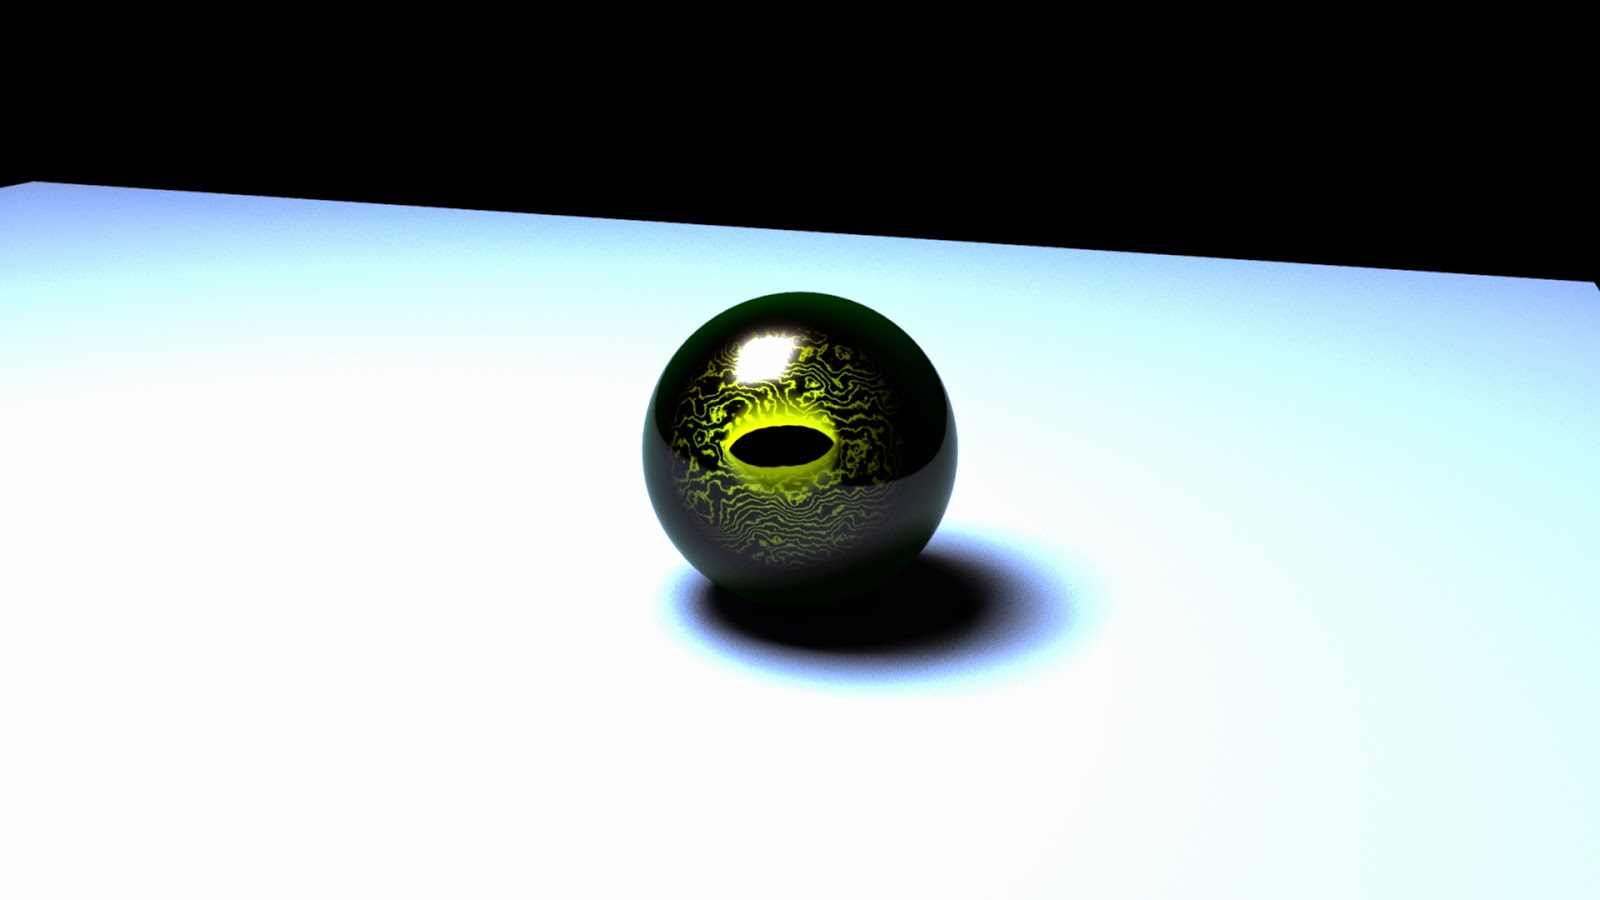
~Frog Eye~
~Mahogany Wood~

~Mars~

~Orange~

~Tennis Ball~

Week 3:


~The next set of spheres are just abstract ideas, created by using layered shading techniques.~